
GENERAL
Best Heatshrink Size for 2 Gauge Wire


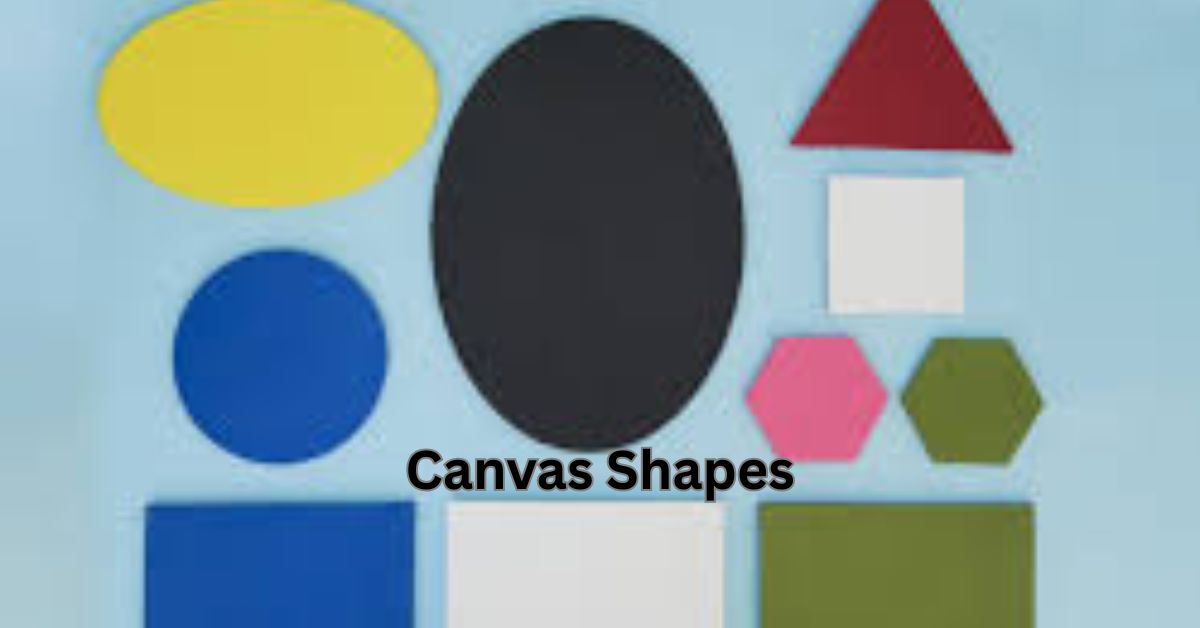
Exploring Canvas Shapes: Unlocking Creative Possibilities
When it comes to creating art, the canvas is often the first thing that artists think about. Traditionally, canvases have been rectangular or square, but today’s artists are embracing a broader variety of canvas shapes that open up new realms of creativity. Exploring canvas shapes can unlock a world of artistic possibilities, allowing artists to break free from convention and experiment with their compositions in unique and exciting ways.
In this article, we will dive into the various canvas shapes available to artists, how to use them to enhance creativity, and how these shapes influence the final artwork. Whether you’re an aspiring artist or an experienced creator, this guide will help you unlock the full potential of your artistic endeavors.
The Traditional Canvas: Rectangular and Square
Before exploring unconventional shapes, it’s important to acknowledge the classic and still widely used rectangular and square canvases. These shapes have been the staple of art for centuries and are associated with some of the most iconic works of art.
1. The Rectangle
The rectangular canvas is the most commonly used shape in traditional art. Whether in landscape or portrait orientation, rectangular canvases provide artists with a balanced area to express their ideas. The long, wide surface is perfect for creating expansive compositions, such as landscapes or cityscapes. Many Renaissance paintings and classical works feature large, rectangular canvases that allowed artists to spread out their scenes and compositions.
-
Landscape Orientation: When using a rectangular canvas in landscape orientation, artists have the freedom to depict expansive vistas, broad landscapes, and horizontal themes. The width of the canvas helps create a sense of space and movement.
-
Portrait Orientation: The portrait orientation is great for portraits, full-body depictions, or vertical compositions that emphasize height or dramatic focus. Portraits of historical figures or spiritual depictions often feature tall, narrow canvases to accentuate their vertical composition.
2. The Square
Square canvases are symmetrical and have an even balance between width and height. While less commonly used than rectangular ones, square canvases are an excellent choice for artists who want to create work that feels equal in all directions. This shape is great for more modern or experimental artwork that doesn’t necessarily rely on the classical concept of space and perspective.
Artists like Piet Mondrian and Andy Warhol utilized square canvases to create their abstract works. The square format allows for a sense of order and harmony in a composition and can often evoke a feeling of stability.
Unlocking Creativity with Non-Traditional Canvas Shapes
While rectangular and square canvases are the most widely used, non-traditional canvas shapes are gaining popularity among artists. These unique canvases encourage experimentation and innovation, pushing artists to think outside the box (literally).
1. Circular Canvases
The circle has been used in art for centuries, representing everything from the cyclical nature of life to the concept of eternity. By using a circular canvas, artists can create a work that focuses on unity and flow. Circular canvases are perfect for creating works that emphasize balance and symmetry.
Circular canvases can be particularly powerful for certain types of artworks, such as mandalas or abstract compositions. The continuous curve of the circle draws the eye inward and encourages the viewer to examine the artwork from all angles. Additionally, circular canvases are excellent for creating paintings that have a spiritual or cosmic feel.
2. Triangular Canvases
For those seeking to explore geometry and abstract concepts, triangular canvases provide a striking option. A triangle naturally suggests stability and balance, but it can also be dynamic and challenging depending on how it is oriented. Artists can play with the angles and lines of a triangular canvas to create visual tension or harmony.
Triangular canvases are often seen in modern and contemporary art, where the artist might use the shape to emphasize angles, edges, and geometric patterns. Triangular canvases can also evoke themes of direction or movement, as the sharp points of the triangle suggest forward momentum.
3. Oval Canvases
An oval canvas is an elegant choice for artists who want to create a unique composition with a sense of movement and flow. The oval shape can create a softer, more organic feel, which is ideal for figurative and nature-inspired work. Oval canvases are often used in portraiture, as the shape complements the human form and adds an element of fluidity to the composition.
Oval canvases are less common than other shapes, making them an excellent choice for artists looking to differentiate their work. They can evoke themes of transformation, natural beauty, and the passage of time, depending on the subject matter.
4. Custom-Shaped Canvases
One of the most exciting aspects of modern art is the freedom to create custom-shaped canvases. Artists can cut their own canvas into any shape they desire, allowing for complete freedom in composition and expression. This approach is commonly used in installation art and sculpture, where the canvas is treated as a three-dimensional object rather than just a flat surface.
Custom-shaped canvases can be anything from organic, flowing curves to angular, jagged edges that interact with the space around them. Artists can experiment with shapes that evoke specific feelings or ideas, and the shape itself can become an integral part of the artwork’s message.
How Canvas Shapes Influence Artistic Expression
The shape of the canvas you choose can significantly affect how you approach your artwork. Here are some ways in which the canvas shape influences creative expression:
1. Composition and Balance
Different canvas shapes require different approaches to composition. For example, a rectangular canvas often prompts an artist to think in terms of depth, space, and perspective, as it encourages horizontal or vertical lines that lead the viewer’s eye across the work. A circle or oval might lead to a more centralized or symmetrical composition, while triangular shapes could inspire an artist to explore lines, angles, and geometric abstraction.
The canvas shape can determine how an artist organizes their elements, such as the placement of focal points and the use of negative space. In many cases, the shape itself can guide the flow of the artwork, leading to a more intentional and cohesive design.
2. Movement and Emotion
The shape of the canvas can also influence the emotional tone of the piece. A square canvas may evoke feelings of stability and order, while a circle may communicate continuity or infinity. A triangle can create a sense of tension or dynamism, while a custom-shaped canvas can evoke a sense of individuality or abstraction.
In essence, the shape of the canvas becomes an active participant in the artwork, contributing to its overall meaning and emotional impact.
3. Creativity and Innovation
Exploring different canvas shapes encourages innovation. Artists who choose non-traditional shapes are forced to think creatively about how to compose and balance their work. Rather than adhering to conventional forms, artists are empowered to break the rules and experiment with the physicality of the canvas itself.
Custom shapes also allow for more interaction with the surrounding space. For example, an irregularly shaped canvas can influence how the viewer perceives the piece in a gallery setting or in the context of an installation.
Choosing the Right Canvas Shape for Your Artwork
While traditional rectangular and square canvases are tried and true, experimenting with unique shapes can bring new life to your artistic practice. Here are some considerations when selecting the best canvas shape for your work:
-
Subject Matter: Consider how the shape of the canvas will interact with your subject matter. For instance, portrait artists may find oval or circular canvases to be a natural fit, while abstract artists may enjoy the freedom of a triangular or custom-shaped canvas.
-
Message and Emotion: Think about the emotional tone you want to convey. Do you want stability, fluidity, tension, or freedom? The shape of the canvas can amplify these feelings.
-
Space: Consider the space where the artwork will be displayed. Some shapes, such as rectangular or square canvases, may be more suited for traditional gallery walls, while custom shapes or installations might interact better with open spaces.
Conclusion
Exploring canvas shapes is a journey that opens up a world of creative possibilities for artists. By breaking free from traditional formats, artists can discover new ways to express themselves, from geometric abstraction to organic, flowing compositions. Whether you choose a classic rectangular canvas or experiment with circular, triangular, or custom shapes, the right canvas can enhance your creative expression and help you achieve your artistic vision. Embrace the possibilities that different canvas shapes provide, and let your creativity guide the way.
-

 TECHNOLOGY3 months ago
What happened to spank bang
-

 ENTERTAINMENT3 months ago
What Is JerkMate? Exploring the Features and Purpose
-
 FASHION3 months ago
Understanding the Carmelita Neck: A Unique Fashion Detail
-

 GENERAL3 months ago
Unveiling the 322 Messianic Prophecies: A Deep Dive
-
 FASHION3 months ago
Debonair blog:The Art of Stylish Living
-

 BUSNIESS3 months ago
Crypto FintechZoom: Navigating the Future of Digital Finance
-

 ENTERTAINMENT3 months ago
Drake Exposed: The Untold Truth Behind the Music and Fame
-

 ENTERTAINMENT3 months ago
What Does It Mean to Be a Scratch Golfer?