
HEALTH
Champagne Cookies in Tiramisu: A Perfect Base
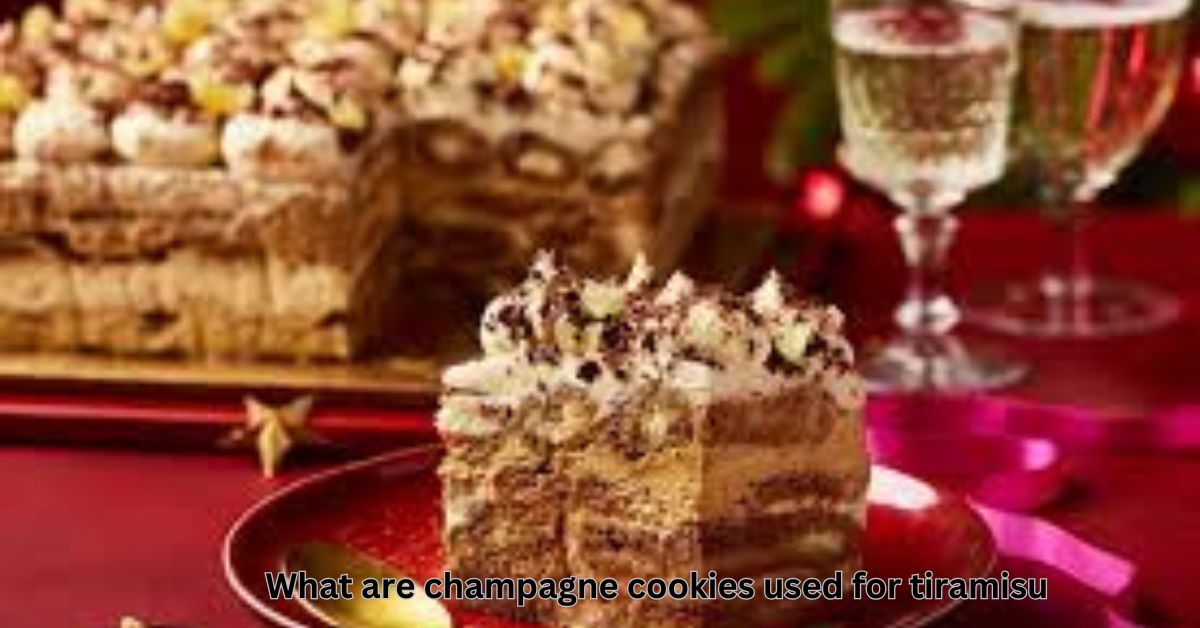
Champagne Cookies in Tiramisu: A Perfect Base
Tiramisu, the iconic Italian dessert, has long been adored for its rich layers of coffee-soaked cookies, mascarpone cheese, and cocoa powder. While many versions use traditional ladyfingers, a rising trend in the world of gourmet desserts is the substitution of champagne cookies. This delicate, lightly sweetened treat brings a unique twist to tiramisu, offering a more refined and sophisticated base. In this article, we will explore the role of champagne cookies in tiramisu, their origins, how they differ from traditional ladyfingers, and why they make the perfect base for this beloved dessert.
What Are Champagne Cookies?
Champagne cookies, also known as savoiardi or ladyfingers in some regions, are light, airy, and slightly sweet cookies that are often used in layered desserts like tiramisu. They have a crispy texture on the outside with a soft, porous interior, which allows them to absorb liquid without losing their shape. The addition of champagne or sparkling wine gives these cookies a refined flavor that complements the richness of mascarpone cheese and the bitterness of coffee in tiramisu.
While champagne cookies are not as well-known as their ladyfinger counterparts, they are becoming a favorite for those who want to elevate their dessert experience with a touch of luxury and a subtle fruity note. These cookies are baked using a basic mixture of eggs, sugar, flour, and champagne, and they have a golden hue that enhances the visual appeal of tiramisu.
The Role of Champagne Cookies in Tiramisu
Tiramisu is traditionally made by layering coffee-soaked ladyfingers with mascarpone cream and cocoa powder. The ladyfingers, which are the traditional base, play an essential role in absorbing the coffee or espresso without disintegrating. They add texture and structure to the dessert, helping to hold the layers together.
In the case of champagne cookies, their slightly more delicate nature adds an elegant twist to the classic recipe. When soaked in coffee or a coffee liqueur, champagne cookies absorb the flavors without becoming too soggy, maintaining a slight crunch while melding perfectly with the creamy mascarpone filling. This slight difference in texture and flavor makes champagne cookies a great option for those who prefer a lighter, less intense experience than traditional ladyfingers offer.
Champagne Cookies vs. Ladyfingers: A Subtle Difference
While champagne cookies and ladyfingers serve the same purpose in tiramisu, their flavor profiles and textures differ. Understanding these differences can help you decide which one suits your taste preferences and the overall aesthetic of your tiramisu.
Flavor Profile
Ladyfingers have a neutral, slightly sweet flavor, which makes them the ideal base for tiramisu as they don’t overpower the other ingredients. Champagne cookies, however, add a subtle, elegant twist with their light, fruity notes from the champagne. This delicate flavor complements the coffee and mascarpone layers without competing with them. For those who love the refined taste of champagne, these cookies add a sophisticated touch to the dessert.
Texture
Ladyfingers are firm and slightly dry, which allows them to soak up the coffee or espresso while maintaining their structure. Champagne cookies are similarly airy but may have a slightly more delicate and crumbly texture, which adds an extra layer of lightness to tiramisu. The crispy exterior and soft interior of champagne cookies help them absorb the liquid without becoming overly mushy, giving the dessert a smooth, melt-in-your-mouth feel.
Appearance
Ladyfingers are typically long and narrow, which gives tiramisu its traditional layered look. Champagne cookies, however, are often smaller and rounder, creating a more elegant and refined visual appeal. Their golden color and delicate appearance can enhance the presentation of the dish, especially for special occasions where aesthetics matter as much as taste.
How to Use Champagne Cookies in Tiramisu
Using champagne cookies in tiramisu is just as easy as using ladyfingers, and the process remains largely the same. Here’s a step-by-step guide to creating a luxurious tiramisu using champagne cookies as the base:
Ingredients
- 2 cups heavy cream
- 1/2 cup mascarpone cheese
- 1/2 cup powdered sugar
- 1 teaspoon vanilla extract
- 1/4 cup strong brewed coffee (cooled)
- 1/4 cup coffee liqueur (optional)
- 1 package of champagne cookies (about 12-14 cookies)
- Unsweetened cocoa powder (for dusting)
- Dark chocolate shavings or cocoa nibs (optional, for garnish)
Instructions
-
Prepare the Cream Layer: In a large mixing bowl, combine the heavy cream, mascarpone cheese, powdered sugar, and vanilla extract. Using a hand mixer or stand mixer, beat the mixture until it forms stiff peaks. This will be the creamy filling for your tiramisu.
-
Prepare the Coffee Mixture: In a shallow dish, combine the cooled brewed coffee with the coffee liqueur (if using). Stir the mixture gently to ensure it’s well combined. The coffee will be used to soak the champagne cookies.
-
Soak the Champagne Cookies: Lightly dip each champagne cookie into the coffee mixture, making sure it is soaked but not overly soggy. Champagne cookies absorb liquid quickly, so a quick dip will be sufficient. Arrange the soaked cookies in the bottom of your serving dish to form the first layer.
-
Layering the Tiramisu: Once the first layer of cookies is arranged, spread half of the mascarpone cream mixture over the top. Use a spatula to evenly smooth the cream across the cookies. Repeat the process, layering soaked champagne cookies and cream until all ingredients are used up.
-
Chill the Tiramisu: After assembling the tiramisu, cover it with plastic wrap and refrigerate for at least 4 hours, or overnight for the best results. The dessert should be well chilled so that the flavors can meld and the layers firm up.
-
Finishing Touches: Before serving, dust the top of the tiramisu with unsweetened cocoa powder and garnish with dark chocolate shavings or cocoa nibs for added texture and flavor.
Why Champagne Cookies Make the Perfect Base for Tiramisu
Champagne cookies elevate tiramisu in several ways:
-
Delicate Flavor Profile: The subtle fruity notes from champagne enhance the flavor profile of tiramisu, offering a more refined taste without overpowering the coffee and mascarpone layers.
-
Light, Airy Texture: Champagne cookies add a light and airy texture that perfectly balances the rich creaminess of mascarpone cheese and the bitterness of the coffee.
-
Elegant Appearance: With their golden hue and delicate shape, champagne cookies add sophistication and elegance to the presentation of tiramisu, making it perfect for special occasions.
-
Versatility: Champagne cookies are versatile, and they can be paired with different flavors or even infused with different liqueurs or extracts for a customized version of tiramisu. Their subtle flavor works well with various variations, such as chocolate tiramisu or fruit-infused tiramisu.
Conclusion
Incorporating champagne cookies into tiramisu is a simple yet effective way to add a unique and sophisticated twist to this classic Italian dessert. Their delicate flavor, airy texture, and elegant appearance make them the perfect base for a refined, luxurious tiramisu. Whether you are making tiramisu for a special occasion or simply want to impress your guests with a new version of the beloved dessert, champagne cookies offer a fresh, exciting option that will elevate your dessert game to a whole new level.


-

 TECHNOLOGY2 months ago
What happened to spank bang
-

 ENTERTAINMENT2 months ago
What Is JerkMate? Exploring the Features and Purpose
-

 FASHION2 months ago
Understanding the Carmelita Neck: A Unique Fashion Detail
-

 GENERAL2 months ago
Unveiling the 322 Messianic Prophecies: A Deep Dive
-

 FASHION2 months ago
Debonair blog:The Art of Stylish Living
-

 BUSNIESS2 months ago
Crypto FintechZoom: Navigating the Future of Digital Finance
-

 BUSNIESS2 months ago
TNA Board: Shaping the Future of Innovation and Leadership
-

 ENTERTAINMENT2 months ago
What Does It Mean to Be a Scratch Golfer?